Fall Greetings ALL!
Since fall is UPON US I thought it would be fun to show you my most recent project that's FUN, EASY and in-expensive!
This post if rather long BUT the actual time to make one of these is Not as long as it looks! Just read thru the instructions...look at the photos and you will be able to make one in less than 1/2 hour!
ENJOY!
The photos are first and then following the photos are the instructions. I've broken the project into two sections....the sparkly pumpkin AND the decorated cake stand SO be sure to read all the way to the bottom!
Glitzy Fall Pumpkins
Here are instructions for those cute little glitzy pumpkins. You can use artificial pumpkins if you want to keep it from year to year or real pumpkins. I chose to use real pumpkins for today because I wanted to get all different shapes sizes and heights! I made sure the pumpkin was reasonably clean and then started on my polka dots!
Here’s what you will need:
1) A pumpkin (duh) real or artificial
2) Any type of white glue (Elmer’s)
3) Glitter….you can use any kind but I like the fine, iridescent kind available at any craft store
4) Round sponge stylists (I got mine at Michaels and they were in a pack of 3 for 2.50) You can also use your own sponge shape, make-up sponges, etc. BE CREATIVE!
5) Artificial or real leaves (optional)
6) Wire (optional)
Make a shallow little puddle of Elmer’s glue on a paper plate and dip the round sponge end of your stylist into the glue. I usually “blot it” a little on the plate just to make sure there aren’t globs of glue that might drip etc. Pounce it up and down on the pumpkin (turning it if necessary to get an even round dot) and then sprinkle with glitter. If you didn’t get enough glue on the sponge to make a nice round circle just dip it in again! It will look bubbly ….don’t worry about that.
Sprinkle the glitter onto your glue dots making sure to have a piece of paper or newspaper underneath to catch the stray glitter. Shake the pumpkin to get rid of any extra glitter. The glitter will of course stick to the glue and when it’s dry you have an adorable, sparkly, polka dot pumpkin! I did about 3 or 4 “glue circles” and then sprinkled on the glitter so that the glue would still be wet and then did 3 or 4 more etc. until the entire pumpkin was done. When you’re finished make the paper into a “cone” and pour the excess glitter back into its container. This may seem silly BUT you will be surprised how much glitter you waste if you don’t do this!
I also purchased some larger green leaves at Michaels and glued them on the top of the pumpkin along with some wire “squiggles” made by wrapping any type of wire around a pencil, pulling it off and playing with it until it looks all squirly!
Although I’m writing these instructions after finishing only one example I know you can also use any shape sponges you want. I think make-up sponges would be cute and would give sort of a checkerboard effect. I hope to make some striped pumpkins by using a paint brush, glue and glitter just like above. Don’t worry about your glue lines being straight….crooked is sometimes cuter anyway!
Set your pumpkin aside and start on your fall arrangement! Instructions to follow!
OK now for the cake stand!
Instructions for the Fall “cake plate” arrangement
These table decorations were fun, easy and CHEAP to create!
My motto for decorating is USE WHAT YOU HAVE! I originally wanted some little branches to put in my centerpiece but didn’t have any and found some feathers that I gathered the last time we went to pick out pumpkins (yes I am a scrounge!) and I like the effect even better!
I wanted a cake stand to “feature” my little glitzy pumpkins but they were all at least 20.00. I was at the dollar tree and noticed some glass candlesticks that looked like a base and then found some nice glass plates (again at the D-Tree!) that formed the top of the “cake plate”. You can also get glass candlesticks at garage sales for next to nothing AND you don’t have to use glass plates….Floral ones would be GORGEOUS! I used a glue called E-6000 (available at any craft store) to glue the candlestick to the bottom of the plate. It needs to dry overnight but after it’s dry it will hold almost anything. You can also use a glue called “gorilla glue” but you will have to prop the candlestick up with masking or painters tape, until it’s dry or it will slide around the plate. E-6000 is thick and will keep the base in place until it dries. TA-DA! A “crystal” cake plate for 2 bucks!
At the dollar I also purchased some fall leaves and some purple silk flowers (I like non-traditional colors) The flowers and foliage from the dollar tree will look pretty “cheesy” but trust me, when you get it all together it will look great! Then at Michaels I purchased a “bush” of orange berries and some smaller purple berries 40% off!
You don’t have to glue all the foliage down but I like knowing that it will stay where I put it so that’s what I did.
I started with the leaves and depending on what size pumpkin I was using glued a layer of leaves around the top, outside of the plate (or further in, if my pumpkin was smaller) I peeled off the plastic “veins” that were on the back of the leaves because they lay so much better that way. After the leaves were dry I tucked in 3 or 4 sprigs of the small purple berries and then 3 or 4 of the larger purple flowers. You can either glue your artificial pumpkin in now or just use it as a guide by placing it in the center as you check for the best placement of your foliage. Then a few of the small purple berries and then the larger orange berries, cut a little longer than everything else for a little interest. Last I put two little feathers in a few different places around the plate. I know nothing about floral arranging but I do know what looks good to me and that’s all that matters! If there were spaces that needed another little sprig or leaf I popped those in last! Like I said before I wanted some little branches but I had the feathers and I LOVE the way it turned out! Because you first spread a circle of leaves on the plate you probably won’t see any clear spaces Use anything you have….Acorns, walnuts, real leaves or real berries. There are no rules!
After you finish your pumpkin you can glue it onto the cake plate but of course the real pumpkins just nestle in the center of the foliage.
Cute and EASY for under $5.00!
ENJOY!
If you have a minute take a look at some of my new jewelry! It's perfect for fall on a knubby sweater or heavy wool coat!
Thank you for looking and HAPPY FALL!
Faithfully yours,
Violette Noble
Noble Studios Ltd.


 Antique Tin Type Necklace
  Vintage Shoe Clip Necklace
 Antique Cameo Earrings
 Antique Rhinestone Bracelet
 Antique Key and Gear Earrings
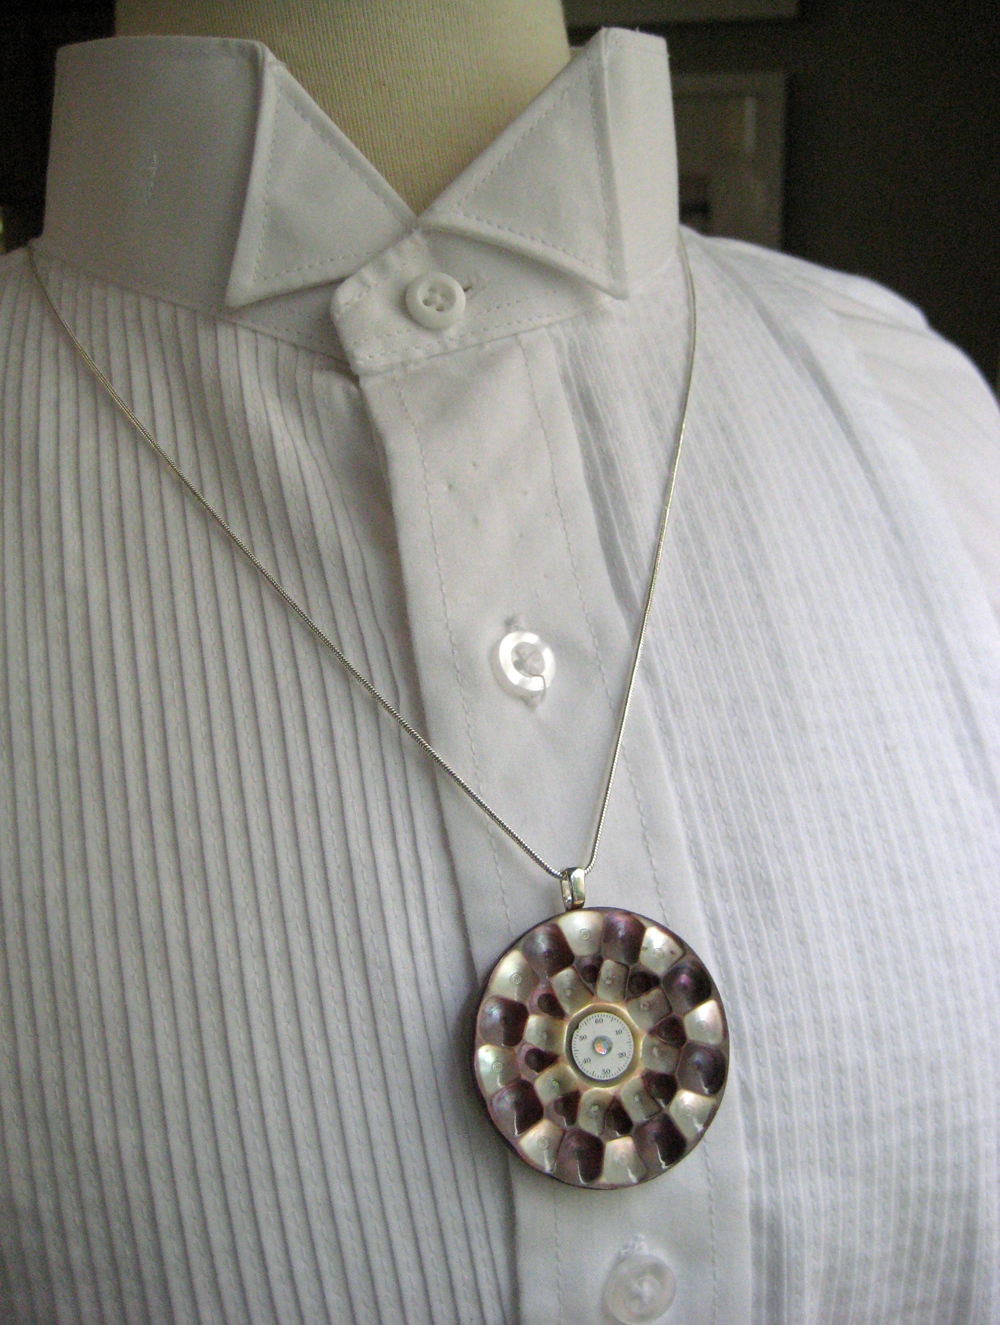
 GORGEOUS antique shell button necklace
 Antique Pocket Watch Necklace


