I'm having an INSANE 40% off SALE!
OK I've toyed with this idea long enough! I've been wanting to have a HUGE SALE and I decided this morning IT'S ON!
Purchase any...yes ANY item in my shop, pay with paypal and you will receive 40% back thru your paypal account! Here's the link to my shop!
Noble Studios Ltd. Shop
WOWEE!!
Hurry before everyone else gets the jewelry you NEED!
Faithfully yours,
Violette Noble
Thursday, October 14, 2010
Friday, October 1, 2010
Easy FUN and cheap fall table decoration!
Fall Greetings ALL!
Since fall is UPON US I thought it would be fun to show you my most recent project that's FUN, EASY and in-expensive!
This post if rather long BUT the actual time to make one of these is Not as long as it looks! Just read thru the instructions...look at the photos and you will be able to make one in less than 1/2 hour!
ENJOY!
The photos are first and then following the photos are the instructions. I've broken the project into two sections....the sparkly pumpkin AND the decorated cake stand SO be sure to read all the way to the bottom!
Glitzy Fall Pumpkins
Here are instructions for those cute little glitzy pumpkins. You can use artificial pumpkins if you want to keep it from year to year or real pumpkins. I chose to use real pumpkins for today because I wanted to get all different shapes sizes and heights! I made sure the pumpkin was reasonably clean and then started on my polka dots!
Here’s what you will need:
1) A pumpkin (duh) real or artificial
2) Any type of white glue (Elmer’s)
3) Glitter….you can use any kind but I like the fine, iridescent kind available at any craft store
4) Round sponge stylists (I got mine at Michaels and they were in a pack of 3 for 2.50) You can also use your own sponge shape, make-up sponges, etc. BE CREATIVE!
5) Artificial or real leaves (optional)
6) Wire (optional)
Make a shallow little puddle of Elmer’s glue on a paper plate and dip the round sponge end of your stylist into the glue. I usually “blot it” a little on the plate just to make sure there aren’t globs of glue that might drip etc. Pounce it up and down on the pumpkin (turning it if necessary to get an even round dot) and then sprinkle with glitter. If you didn’t get enough glue on the sponge to make a nice round circle just dip it in again! It will look bubbly ….don’t worry about that.
Sprinkle the glitter onto your glue dots making sure to have a piece of paper or newspaper underneath to catch the stray glitter. Shake the pumpkin to get rid of any extra glitter. The glitter will of course stick to the glue and when it’s dry you have an adorable, sparkly, polka dot pumpkin! I did about 3 or 4 “glue circles” and then sprinkled on the glitter so that the glue would still be wet and then did 3 or 4 more etc. until the entire pumpkin was done. When you’re finished make the paper into a “cone” and pour the excess glitter back into its container. This may seem silly BUT you will be surprised how much glitter you waste if you don’t do this!
I also purchased some larger green leaves at Michaels and glued them on the top of the pumpkin along with some wire “squiggles” made by wrapping any type of wire around a pencil, pulling it off and playing with it until it looks all squirly!
Although I’m writing these instructions after finishing only one example I know you can also use any shape sponges you want. I think make-up sponges would be cute and would give sort of a checkerboard effect. I hope to make some striped pumpkins by using a paint brush, glue and glitter just like above. Don’t worry about your glue lines being straight….crooked is sometimes cuter anyway!
Set your pumpkin aside and start on your fall arrangement! Instructions to follow!
OK now for the cake stand!
Instructions for the Fall “cake plate” arrangement
These table decorations were fun, easy and CHEAP to create!
My motto for decorating is USE WHAT YOU HAVE! I originally wanted some little branches to put in my centerpiece but didn’t have any and found some feathers that I gathered the last time we went to pick out pumpkins (yes I am a scrounge!) and I like the effect even better!
I wanted a cake stand to “feature” my little glitzy pumpkins but they were all at least 20.00. I was at the dollar tree and noticed some glass candlesticks that looked like a base and then found some nice glass plates (again at the D-Tree!) that formed the top of the “cake plate”. You can also get glass candlesticks at garage sales for next to nothing AND you don’t have to use glass plates….Floral ones would be GORGEOUS! I used a glue called E-6000 (available at any craft store) to glue the candlestick to the bottom of the plate. It needs to dry overnight but after it’s dry it will hold almost anything. You can also use a glue called “gorilla glue” but you will have to prop the candlestick up with masking or painters tape, until it’s dry or it will slide around the plate. E-6000 is thick and will keep the base in place until it dries. TA-DA! A “crystal” cake plate for 2 bucks!
At the dollar I also purchased some fall leaves and some purple silk flowers (I like non-traditional colors) The flowers and foliage from the dollar tree will look pretty “cheesy” but trust me, when you get it all together it will look great! Then at Michaels I purchased a “bush” of orange berries and some smaller purple berries 40% off!
You don’t have to glue all the foliage down but I like knowing that it will stay where I put it so that’s what I did.
I started with the leaves and depending on what size pumpkin I was using glued a layer of leaves around the top, outside of the plate (or further in, if my pumpkin was smaller) I peeled off the plastic “veins” that were on the back of the leaves because they lay so much better that way. After the leaves were dry I tucked in 3 or 4 sprigs of the small purple berries and then 3 or 4 of the larger purple flowers. You can either glue your artificial pumpkin in now or just use it as a guide by placing it in the center as you check for the best placement of your foliage. Then a few of the small purple berries and then the larger orange berries, cut a little longer than everything else for a little interest. Last I put two little feathers in a few different places around the plate. I know nothing about floral arranging but I do know what looks good to me and that’s all that matters! If there were spaces that needed another little sprig or leaf I popped those in last! Like I said before I wanted some little branches but I had the feathers and I LOVE the way it turned out! Because you first spread a circle of leaves on the plate you probably won’t see any clear spaces Use anything you have….Acorns, walnuts, real leaves or real berries. There are no rules!
After you finish your pumpkin you can glue it onto the cake plate but of course the real pumpkins just nestle in the center of the foliage.
Cute and EASY for under $5.00!
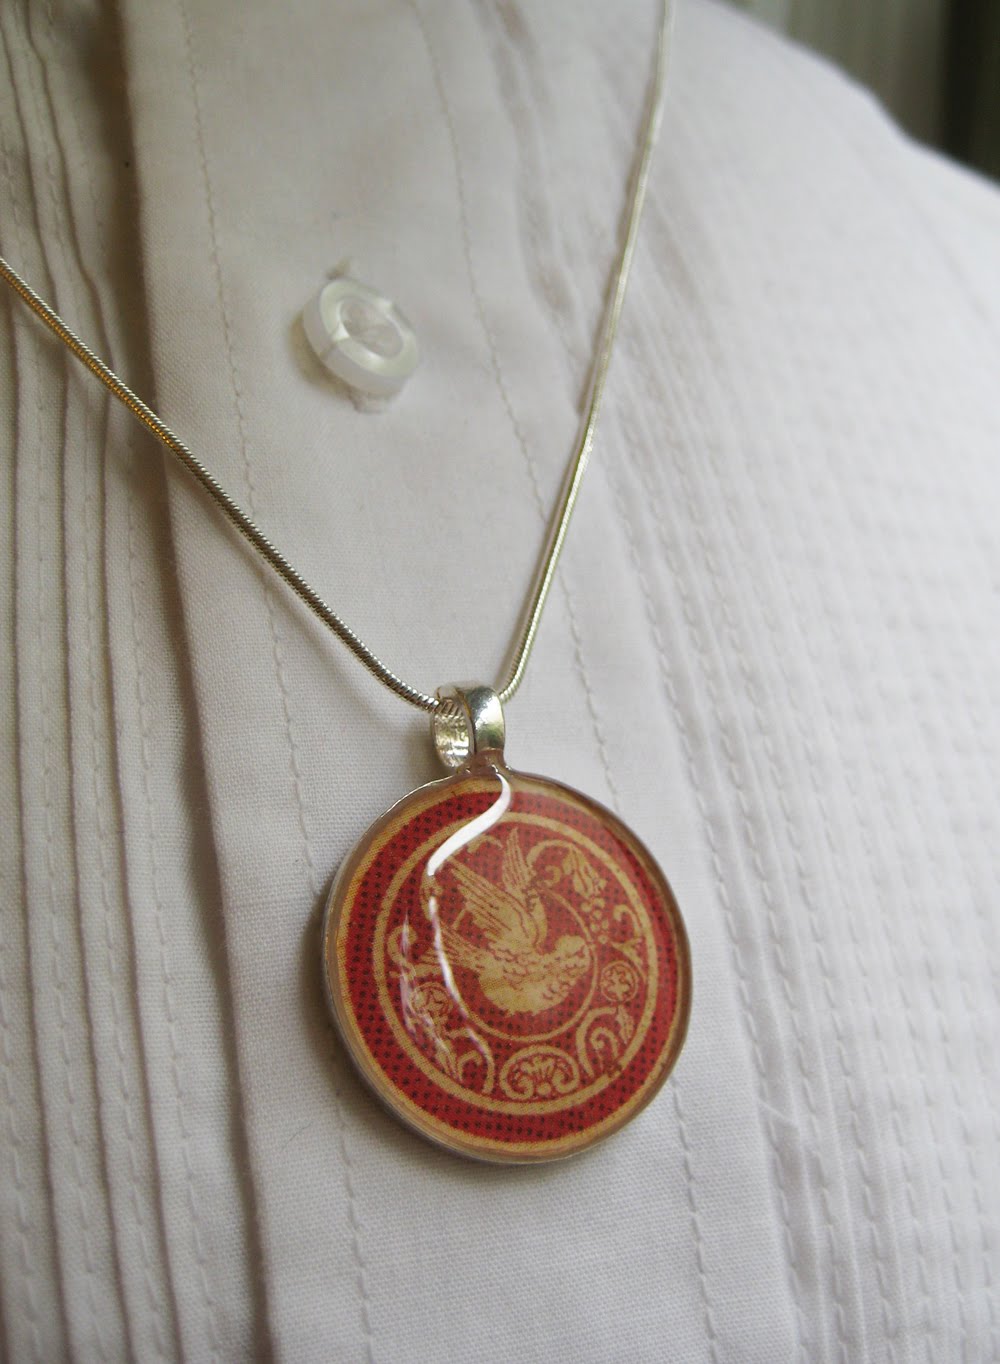
ENJOY! If you have a minute take a look at some of my new jewelry! It's perfect for fall on a knubby sweater or heavy wool coat!
Thank you for looking and HAPPY FALL!Faithfully yours,Violette Noble
Noble Studios Ltd.
Set your pumpkin aside and start on your fall arrangement! Instructions to follow!
OK now for the cake stand!
Instructions for the Fall “cake plate” arrangement
These table decorations were fun, easy and CHEAP to create!
My motto for decorating is USE WHAT YOU HAVE! I originally wanted some little branches to put in my centerpiece but didn’t have any and found some feathers that I gathered the last time we went to pick out pumpkins (yes I am a scrounge!) and I like the effect even better!
I wanted a cake stand to “feature” my little glitzy pumpkins but they were all at least 20.00. I was at the dollar tree and noticed some glass candlesticks that looked like a base and then found some nice glass plates (again at the D-Tree!) that formed the top of the “cake plate”. You can also get glass candlesticks at garage sales for next to nothing AND you don’t have to use glass plates….Floral ones would be GORGEOUS! I used a glue called E-6000 (available at any craft store) to glue the candlestick to the bottom of the plate. It needs to dry overnight but after it’s dry it will hold almost anything. You can also use a glue called “gorilla glue” but you will have to prop the candlestick up with masking or painters tape, until it’s dry or it will slide around the plate. E-6000 is thick and will keep the base in place until it dries. TA-DA! A “crystal” cake plate for 2 bucks!
At the dollar I also purchased some fall leaves and some purple silk flowers (I like non-traditional colors) The flowers and foliage from the dollar tree will look pretty “cheesy” but trust me, when you get it all together it will look great! Then at Michaels I purchased a “bush” of orange berries and some smaller purple berries 40% off!
You don’t have to glue all the foliage down but I like knowing that it will stay where I put it so that’s what I did.
I started with the leaves and depending on what size pumpkin I was using glued a layer of leaves around the top, outside of the plate (or further in, if my pumpkin was smaller) I peeled off the plastic “veins” that were on the back of the leaves because they lay so much better that way. After the leaves were dry I tucked in 3 or 4 sprigs of the small purple berries and then 3 or 4 of the larger purple flowers. You can either glue your artificial pumpkin in now or just use it as a guide by placing it in the center as you check for the best placement of your foliage. Then a few of the small purple berries and then the larger orange berries, cut a little longer than everything else for a little interest. Last I put two little feathers in a few different places around the plate. I know nothing about floral arranging but I do know what looks good to me and that’s all that matters! If there were spaces that needed another little sprig or leaf I popped those in last! Like I said before I wanted some little branches but I had the feathers and I LOVE the way it turned out! Because you first spread a circle of leaves on the plate you probably won’t see any clear spaces Use anything you have….Acorns, walnuts, real leaves or real berries. There are no rules!
After you finish your pumpkin you can glue it onto the cake plate but of course the real pumpkins just nestle in the center of the foliage.
Cute and EASY for under $5.00!
ENJOY!
If you have a minute take a look at some of my new jewelry! It's perfect for fall on a knubby sweater or heavy wool coat!
Thank you for looking and HAPPY FALL!
Faithfully yours,
Violette Noble
Noble Studios Ltd.
Saturday, August 28, 2010
What's it all about Alfie?

Does anyone remember that song from the 70's? (or was it the late 60's?)
Anyhoo....I'm sorta' feeling that way today. Here's why I think.

I've been listing on etsy like crazy but haven't sold anything the last few days. (I know it looks like I did but that GORGEOUS pair of earrings was actually a give-a-way!)

Anyway I've been thinking about it and wondering why I would have been so happy today if something HAD sold and because nothing did, I'm discouraged! It sorta reminds me of when I get on the bathroom scales and it looks like I've gained 2 pounds and I'm devasted BUT when I get on for the 2nd time I'm "back down" those 2 pounds and I'm happy again! WHAT THE HECK?!?!? Why am I letting a hunk of metal predict my happiness for the entire day?!?!?

What does that mean? I know we all want to succeed BUT the measure of our success should should not depend on whether or not someone else LIKES or approves of what we do!

First and Foremost our happiness and peace of mind should come from knowing that God loves us with an everlasting love. He sent His only son to die for us and has reconciled us to himself forever!
But on a more human level.....our happiness and peace of mind should come from knowing we did a good job and enjoying the process and feeling of accomplishment from a job well done!

A book I read last spring was talking about the fine line between depending on God for results BUT working hard ourselves too! We know we can't just sit back on our "you know what's" and expect God to work for us when we've put no effort into anything!

The author of this book said something to this effect. (Sorry it will have to be another loose translation!)
"Work hard as if the ENTIRE project depends on YOU, but after it's done ...let go, knowing the ENTIRE results really depend on God"
Here's my motto for the year. (I have to keep reminding myself of it!)
"Do the work BUT leave the results to God!"

OK I feel better now! Thanks Lord for the reminder!
*art used with permission from Bees in my Bonnet/Becky Christian copyright 2010
Thursday, August 26, 2010
DIY project using ONLY what I had on hand!
Greetings all!
I'm trying to downsize since we are empty nesters now and in the process have sort of changed my decorating style. I ended up needing quite a bit of new art for some of the areas in our home that I changed.
I did find something I really liked for our entryway but it was 150.00 at Cost Plus. I know that's not really too bad but I just didn't want to spend that, especially when I knew I could re-create it!
OK enough talk! HERE WE GO!

I found some foam core board that fit the frame I wanted to use (16" by 20") and painted it with the same color I painted my living room. It was sort of a soft warm gray but of course you can use any color you want. Don't worry about what "kind" of paint you use. Contrary to what "experts" will tell you, you CAN use house paint...indoor or outdoor, craft paint or any other water base paint you have laying around. As long as it's water base you can mix it for different colors and effects. Even if one paint is glossy and one is flat it still is ok....you'll just come up with a "semi-gloss"! (: Just make SURE they are all water based.
WORK WITH WHAT YOU HAVE!!

I took some pieces of thin plywood and cut them into appropriate sizes so that I would have 3 "tiles" across and 4 "tiles" down on my art. If you don't have a saw or plywood you can easily use foam core board for the tiles also. I ended up with 12 blank tiles that measured 4" by 4".

After you get these cut and sanded (use an exacto knife and some very fine sandpaper for the core board) I cut out 12 pieces of the same size paper from my PILES AND PILES of scrapbook paper! Don't get too hung up on what to use. If you don't have scrapbook paper use old letters or ephemera, comic strips for a child's room, a photo that has been enlarged and cut into 12 pieces etc. The skies the limit on what you can use!

Then using mod podge (a collage glue that's available at any craft store) I brushed it on the back of the papers and the front of the squares and "smooshed" it down with my hands and fingers. If you don't have any mod podge you can easily use elmers glue that has been watered down just a bit. Don't worry about getting any on the front....it dries clear and I just brushed a bit on the front after I was done gluing anyway. Even if it crinkles a little....it will just add to the dimension! You can usually flatten it out a bit when it's dry anyway.
I used some fine sandpaper to sand the edges to make them look old but of course if you want a cleaner look you don't need to do that!
I needed some "spacers" for between the background and the tiles so I found some wooden game pieces that worked perfectly! I think they were Jenga pieces so they were all the same size and width! You can use anything for spacers, bottlecaps....etc....anything that has a uniform size and thickness.

Using E-6000 (the best glue in the world!) I glued the spacers to the back of the tiles and LET THEM DRY OVERNIGHT! This glue is fabulous but it takes a while to dry so don't try and glue everything together all at once or you'll have your tiles floating around something terrible! If you want to use hot glue that will work too and then you can glue them together all at the same time!
Then I used glue on the back of the spacers (that already have the tiles glued to them) and glued them on my "background". I didn't really measure.....it doesn't end up coming out just right. Just use your eye and make sure the space between the tiles is fairly even. The space around the top and bottom doesn't really matter OR even have to be the same as each other.
I don't know about you but I LOVE antique frames! I have so many of them it's ridiculous but I keep buying more! I rarely, if ever pay more than 5.00 for one and use them all the time. I ADORE them when they're chipped and have lots of paint loss! I think they're beautiful! Some people like to repair the gesso that has come off but I like them just the way they are!
I painted this old frame with BLACK GLOSS spray paint. Gloss is all I had and I thought the finish and color gave this antique frame a newer, "hipper" look! Use any kind or color paint you have.....it all works!
When the frame is dry I mounted my finished Art into it and hung it up! PRETTY good for NO MONEY don't you think?!?!?

Have a wonderful day and open your eyes to the BREATHTAKING beauty all around you!

Faithfully yours,
Violette Noble
My etsy shoppe
Tuesday, August 24, 2010
A DIY project for your home that's easy and CHEAP!

Greetings everyone!
I don't know about where you live but in Portland FALL IS IN THE AIR! It's almost 90 degrees today BUT there's a breeze and Autumn is UPON US!
The fall always makes we want to get my house in order and for me that means (ok cleaning but that's not fun)......I'd rather decorate, re-decorate, garage sale for treasures and transform what I buy!
I thought it might be fun to show you some of the projects I've done over the years! I will try and show you before and after pics...don't you just LOVE BEFORE AND AFTER picture?!?!? I DO!
A few months ago I was looking for a painting to go in a large area up high above my entryway. I started looking at galleries but quickly resorted to Target after I saw the prices! The cheapest thing I could find at Target...remember it's LARGE...was 150.00. I just won't spend that much on art! If I see something I want and there's NO WAY for me to re-create it, I might buy it BUT if there's any way of re-creating it I WILL FIND IT!
After I'd see some large canvas paintings I thought I might paint my own. After I saw how much large canvases cost at the art store or even Michaels I changed my mind. That's when I happened upon an large UGLY canvas that was covered with some fabric with a huge bright horse on it AT A GARAGE SALE! I have nothing against horses but this was UG-LY!! I purchased the canvas for 2.00 and went to Ikea for some unusual fabric.
I found this...and love it! I purchased it at IKEA....It was 6.99 a yard and I think I only bought 1 1/2 yards. Using a staple gun I stapled in the the back of the canvas (the wood) and didn't even bother taking off the horse fabric!
It's better to purchase a large print because you don't notice the repeat as much and it looks more like art than a piece of fabric stapled onto a canvas!
I SO WISH I had a before picture but here is the after pictures. Not bad for 12.50 HUH?!?!?!?


Now I regularly purchase any nice canvases I see at garage sales etc. You can alwaysPAINT OVER THEM!STAPLE FABRIC OVER THEM!
OR
Cover them with paper and COLLAGE COLLAGE COLLAGE!
MORE tomorrow! (I will show you how I made some FABULOUS art for my entryway for NOTHING....NOT ONE PENNY!)
Love Violette
Labels:
arts,
canvas,
cheap,
decorate,
diy,
do it yourself,
fabric,
home,
painting,
redecorate
Tuesday, August 17, 2010
50% to 75% OFF sale on NOBLE STUDIOS STEAMPUNK Jewelry
Greetings all!
I'm having a HUGE fall sale! Some of my jewelry is actually 75% off of the original price but ALL of it is at least 1/2 off!!


I'm selling TONS of my jewelry on EBAY starting at 1/2 price...yes HALF PRICE...of what it goes for on etsy! If you want some GREAT deals just click on the link below!

I LOVE to clear out some of the things I've had in my shop for a while to make room FOR ALL THE EXCITING new designs I plan on unveiling!

If you want a GREAT deal just go to:
Noble Studios Ltd. on EBAY
It's not too early to start thinking about the holidays!

Please email with questions or comments!
Faithfully yours,
Violette Noble
Noble Studios Ltd.
www.noblestudiosltd.etsy.com
www.noblestudiosltd.blogspot.com
Wednesday, August 11, 2010
The FREE JEWELRY drawing is TODAY!!
******NOTE:Hi Everyone!
Scattered throughout this post are some of my new FAVORITE PIECES!!
Hi Everyone!
Well there certainly is a feeling of fall in the air in Oregon! I'm sort of sad to see the summer go! Our daughter got married this summer and I always feel a little meloncholy in the fall anyway. I think I used to "feel" our kids getting older more in September than on their birthday. It always seems so official when they start into another grade! Ahhh....but I digress!

I'm sorry I've been negligent in announcing the winner for FREE JEWELRY in July! Are you ready?!? Drum Roll Please!
It is:
KATIE from Ragamuffin Gal!
CONGRATULATIONS Katie!


Thank you to all who entered PLUS we have one more month to go! If you've already entered I'll keep your name in the hat for August BUT if you haven't enter now! Just "follow" my blog and leave a comment and you will be entered! Here's the original post if you have any more questions!
"As a thank you to all my faithful customers I'm also going to give away 3, yes THREE....50.00 gift certificates this summer!
NO STRINGS ATTACHED!!
My Etsy Shoppe
One in June, One in July and one in August. All you have to do it "follow" my blog and then leave a comment and I will put you on the list! BE SURE to give me some way to get in contact with you if you win. You can contact me at:
noblestudiosltd@london.com
if you need to make sure I have your email address or have any questions!

Go ahead an enter now by leaving a comment here (after you sign up to follow me...) and I will put your name in the hat for June AND you can also enter in July and August!
Happy Summer!"
As always please contact me with comments or questions! I love to chat!
Faithfully yours,
Violette Noble
Subscribe to:
Posts (Atom)